How to Build a Fire Pit in the Backyard
A ring of stone, a few chairs and a clear night. Here is how to build a fire pit in the backyard that is sturdy, sensible and safe to sit around for years.
· 3 min read
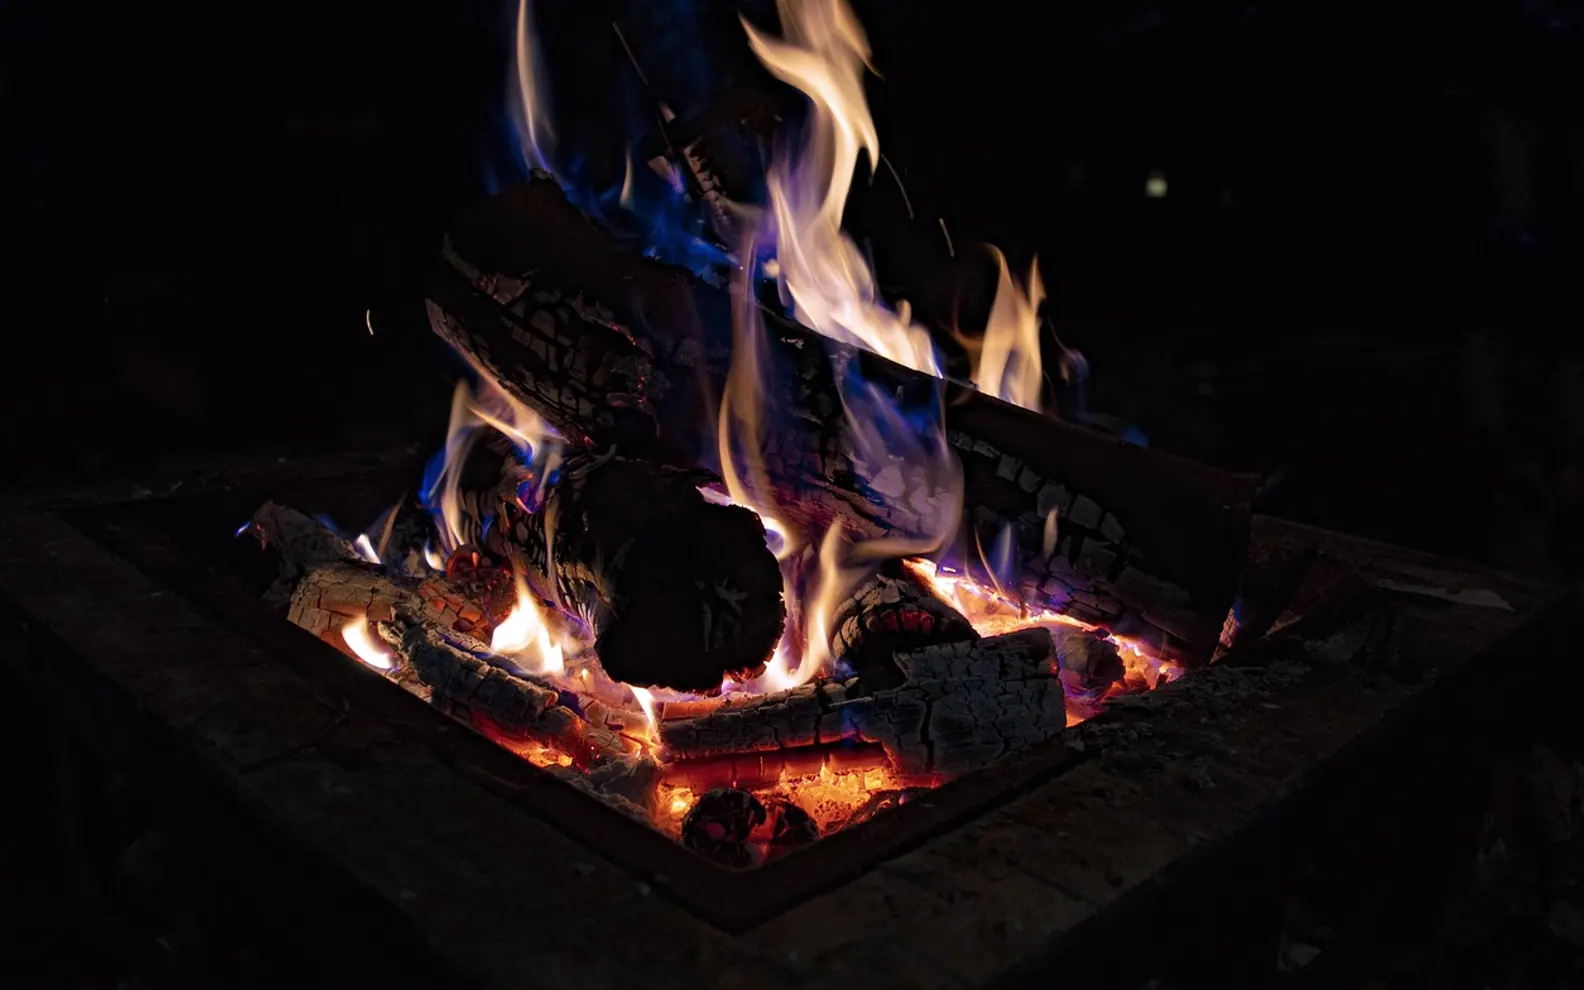
Some of the best evenings happen around a small fire in the yard: a pot of cocoa, a blanket over the knees, the conversation drifting off into comfortable silence while the logs settle. A simple block fire pit is a satisfying weekend project, and done carefully it will serve for many seasons.
The careful part matters. Fire is the whole point of this project, so most of what follows is about putting it in the right place and keeping it under control.
Check the rules before you dig
Open fires are regulated differently from town to town. Before buying a single block, find out:
- Whether recreational fires are allowed at your address, and whether you need a permit.
- Required distances from buildings, property lines and trees, if your local code sets them.
- Any rules from a homeowners' association, landlord or insurer.
- How to check for seasonal burn bans, which can be announced at short notice in dry weather.
In the United States, call 811 or use your state's dig-safe service a few days before digging so buried utility lines can be marked. Other countries have similar services.
Choose a safe spot
Look for a level patch of open ground with nothing overhead: no branches, wires or roof eaves. Keep the pit well away from the house, sheds, fences, hedges and the woodpile. Give it a generous distance from any deck too; if you are planning a deck, sketch the fire pit into the same plan so the two never end up too close. Notice where the wind usually comes from, so smoke blows away from the seating and the neighbours' windows.
Materials
- Retaining wall blocks or a fire pit block kit (solid concrete or natural stone, not hollow decorative blocks)
- A steel fire ring insert sized to the blocks, which protects them from direct heat
- Paver base or crushed gravel, and a layer of sand
- Masonry adhesive rated for outdoor use, if the kit calls for it
- Shovel, tamper, spirit level, rubber mallet, string and a stake
Avoid river rocks and other stones collected from water. They can hold moisture inside, and when heated that trapped water can make them crack or burst.
Building it, course by course
- Mark the circle. Tie string to a stake in the centre and walk it round, marking the outer edge with spray paint or flour.
- Dig a shallow base. Remove turf and roots inside the circle to a modest depth so the first course sits a little below ground and cannot slide.
- Lay and tamp the base. Spread gravel, compact it firmly, add a thin layer of sand and check that it is level in every direction.
- Place the first course. Set blocks tightly round the ring, tapping each one level with the mallet. Take your time; every later course follows this one.
- Stagger the next courses. Offset each block so it bridges the joint below, like brickwork. Two or three courses are usually plenty. Glue them if your kit recommends it.
- Fit the steel ring inside the blocks, then add a few inches of gravel at the bottom for drainage.
- Finish the surround. Lay pavers or gravel in a wide ring around the pit so there is no grass or mulch near the flames.
Lighting and living with it
| Do | Don't |
|---|---|
| Burn dry, seasoned firewood | Use petrol, lighter fluid or other accelerants |
| Keep a hose, a bucket of water or an extinguisher within reach | Leave the fire unattended, even briefly |
| Keep fires small and manageable | Burn trash, leaves, treated timber or pallets with paint |
| Set a clear zone around the pit for children and pets | Light up on windy days or during a burn ban |
Dry wood lights more easily and throws far less smoke at your guests. If yours is still damp, see how to stack firewood so it dries.
Putting it out properly
Let the fire burn down well before you plan to go inside. Then drown it with water, stir the ashes and embers with a shovel, and drown it again. Hold the back of your hand near the ashes; if you feel warmth, keep going. Do not leave until everything is cool to the touch. A lid or spark screen is a good addition between uses.
Once it is built, the fire pit becomes a gathering point you will find yourself drifting toward on any clear evening. A few chairs, a basket of kindling and a long stick for marshmallows are all it needs after that.
Small jobs
Little habits that save a cold morning
Five-minute things that pay back all winter.
Tag the shut-off valve
A bright label on the main water valve saves precious minutes if a pipe ever splits.
Keep a torch by the back door
Fetching logs or checking the yard after dark is easier and safer with a light to hand.
Note the box’s model number
When a streaming box misbehaves, the model number takes you to the right help page much faster.
Wipe the pan while it is warm
Cast iron cleans easiest straight after supper, before anything has had time to set hard.
Something to add?
We read every message.